Azure AD Configuration to Enable Single Sign On NEW
Azure AD Configuration to Enable Single Sign On
-
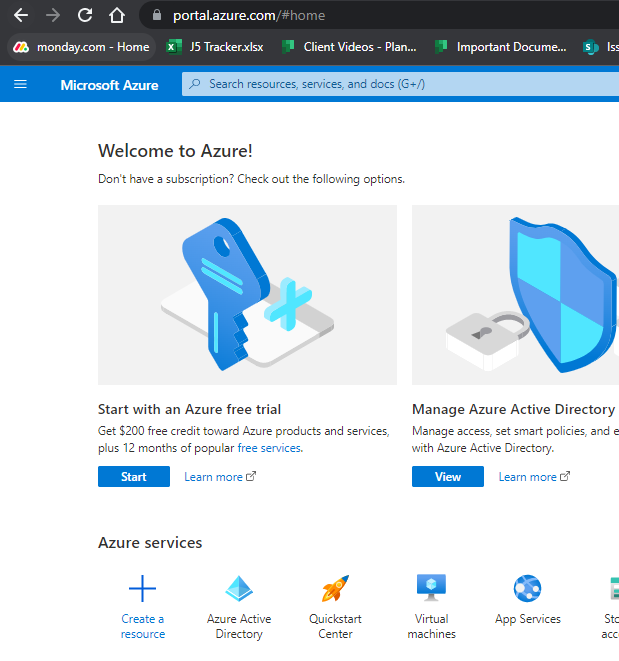
Open your Azure Portal and select Azure Active Directory
-
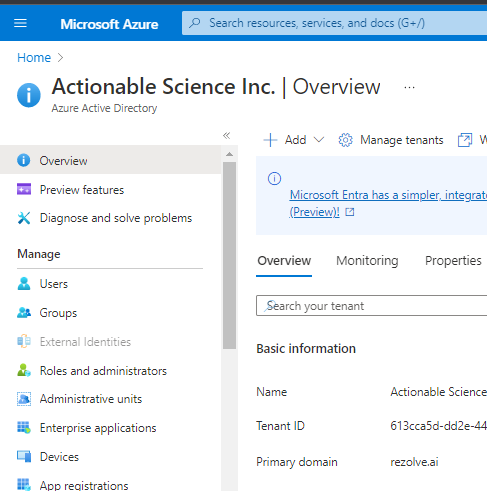
Click on Enterprise application
-
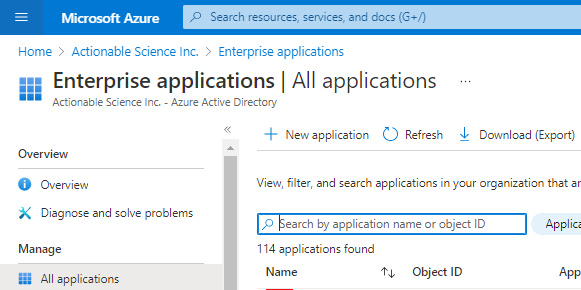
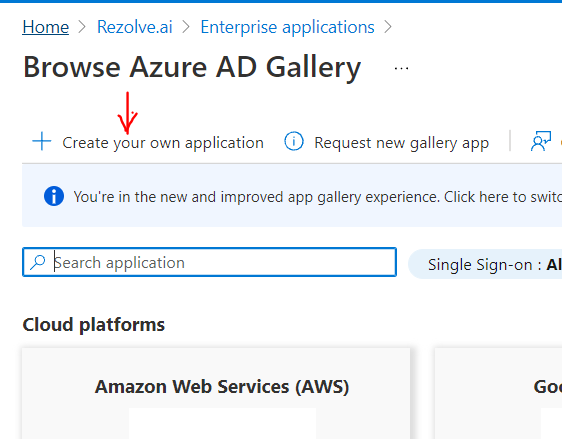
Click + New application 5. Click + Create your own application
-
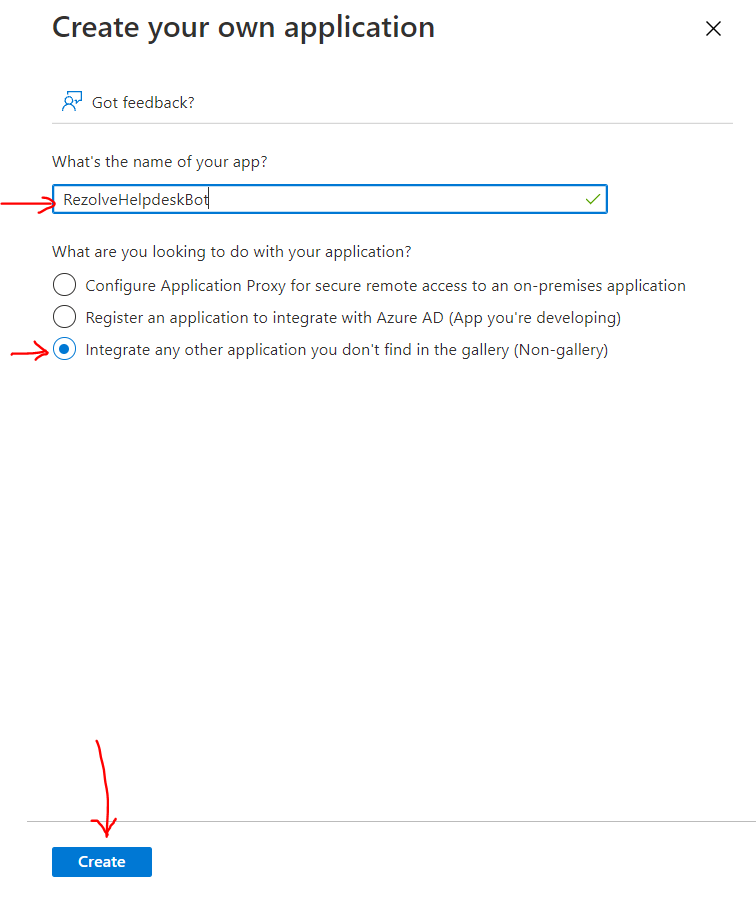
Enter a name to call this set up i.e. BOTNAME Staging Chatbot, select “Intergrate any other application you don’t find in the gallery (Non-gallery)” and click Create
-
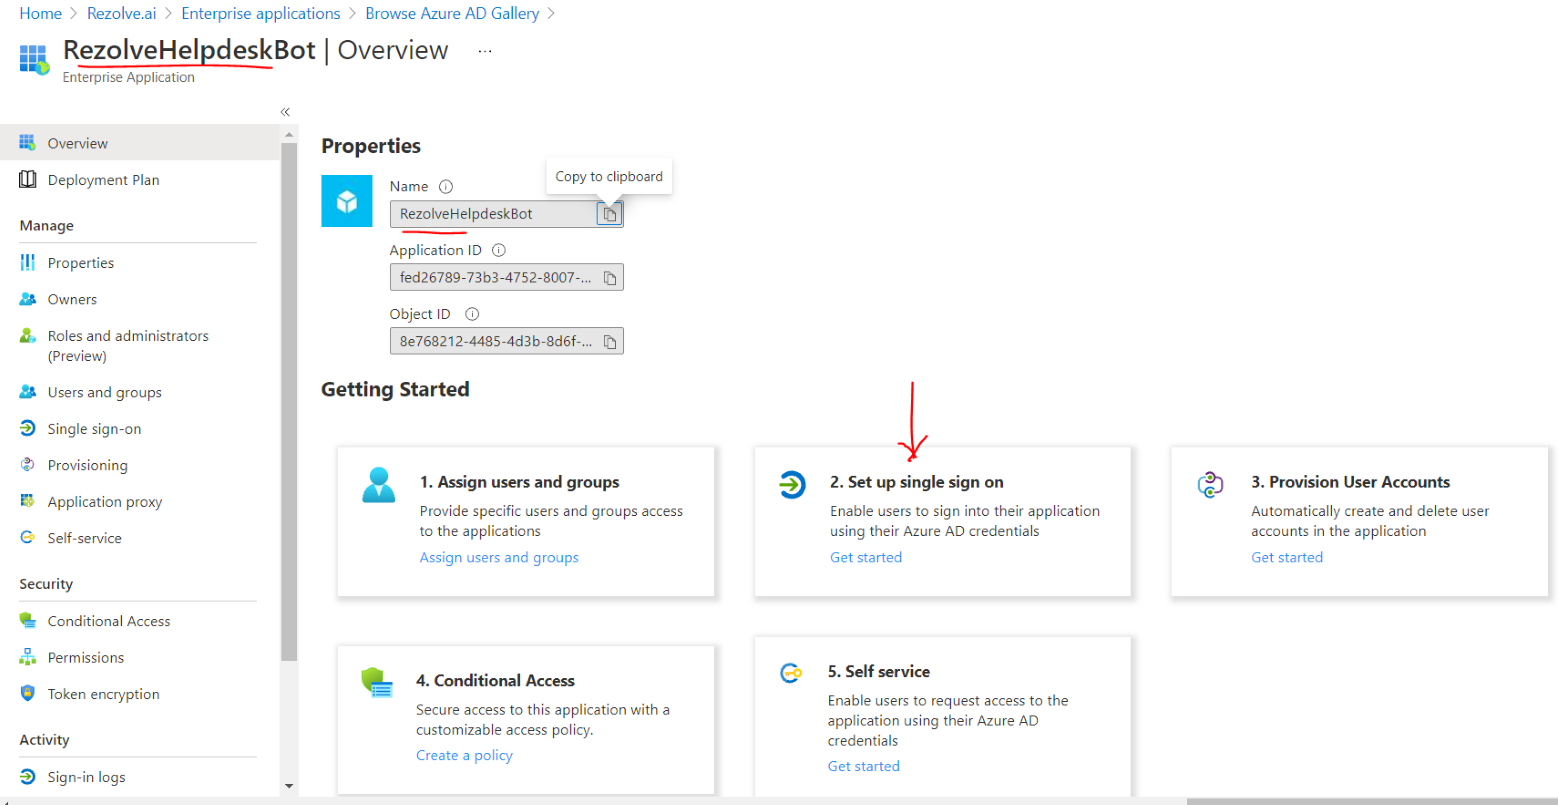
Locate the Bot application in your list of Enterprise Applications and click 2. Set up single sign on
-
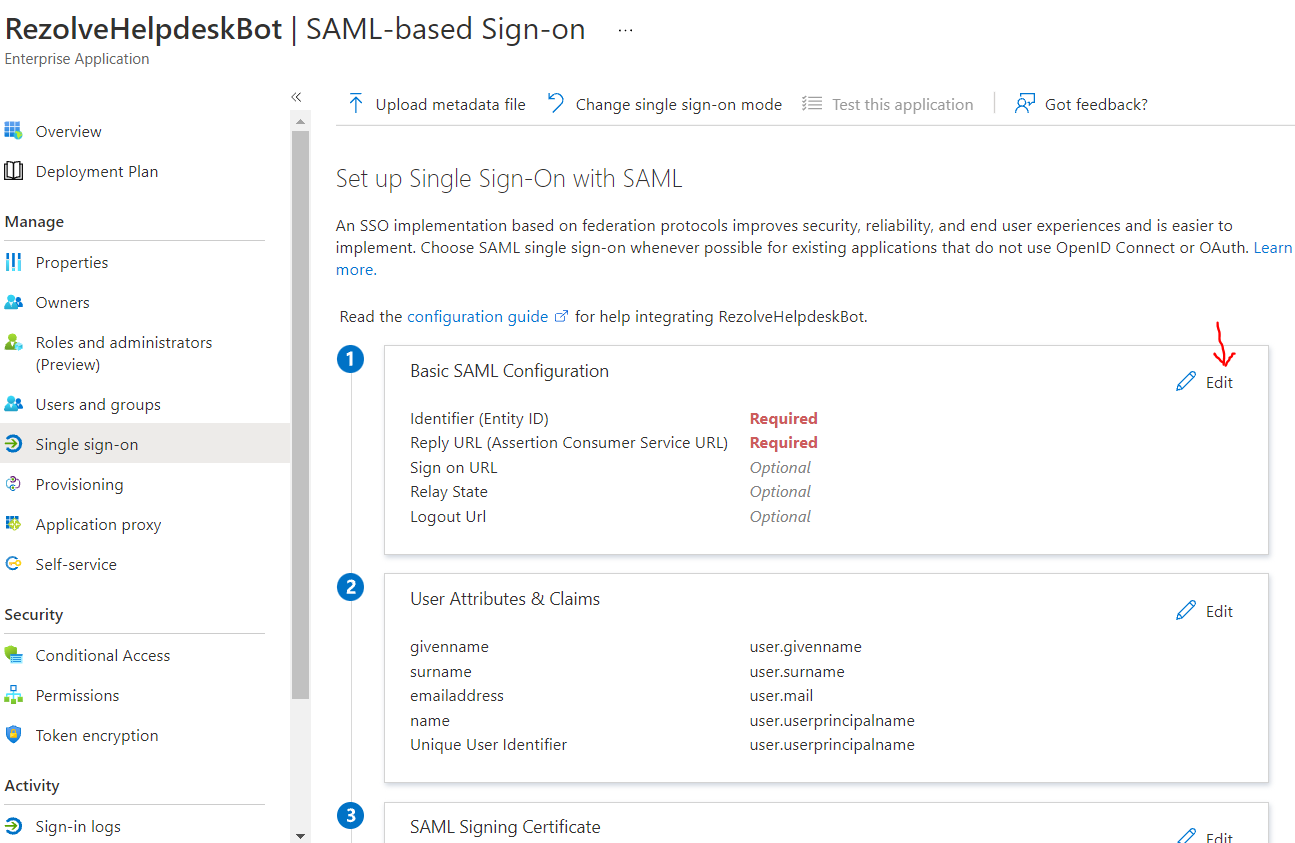
Find Basic SAML Configuration and click Edit
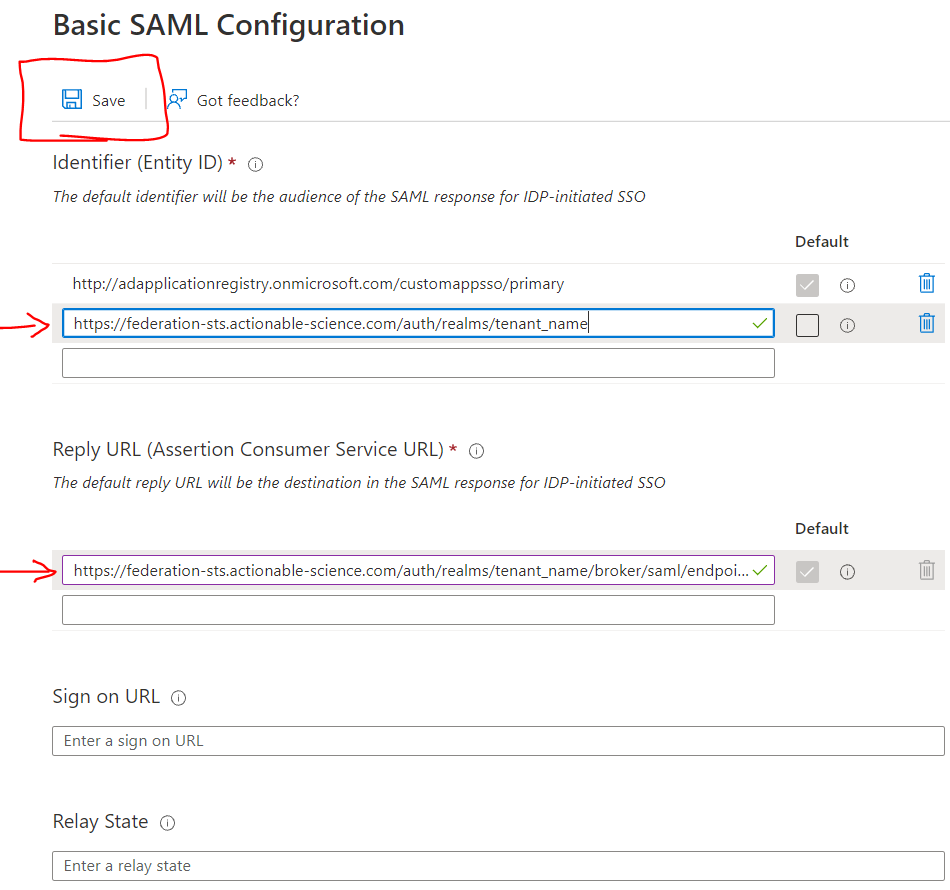
11501 Dublin Blvd STE 200, Dublin, CA 94568 info@rezolve.ai | www.re zolve.ai 9. Enter the Realm URL provided by Rezolve as Identifier (Entity ID), Redirect URL provided by Rezolve as Reply URL (Assertion Consumer Service URL), remove any other existing identifyers, set the new one you created as default and click Save
-
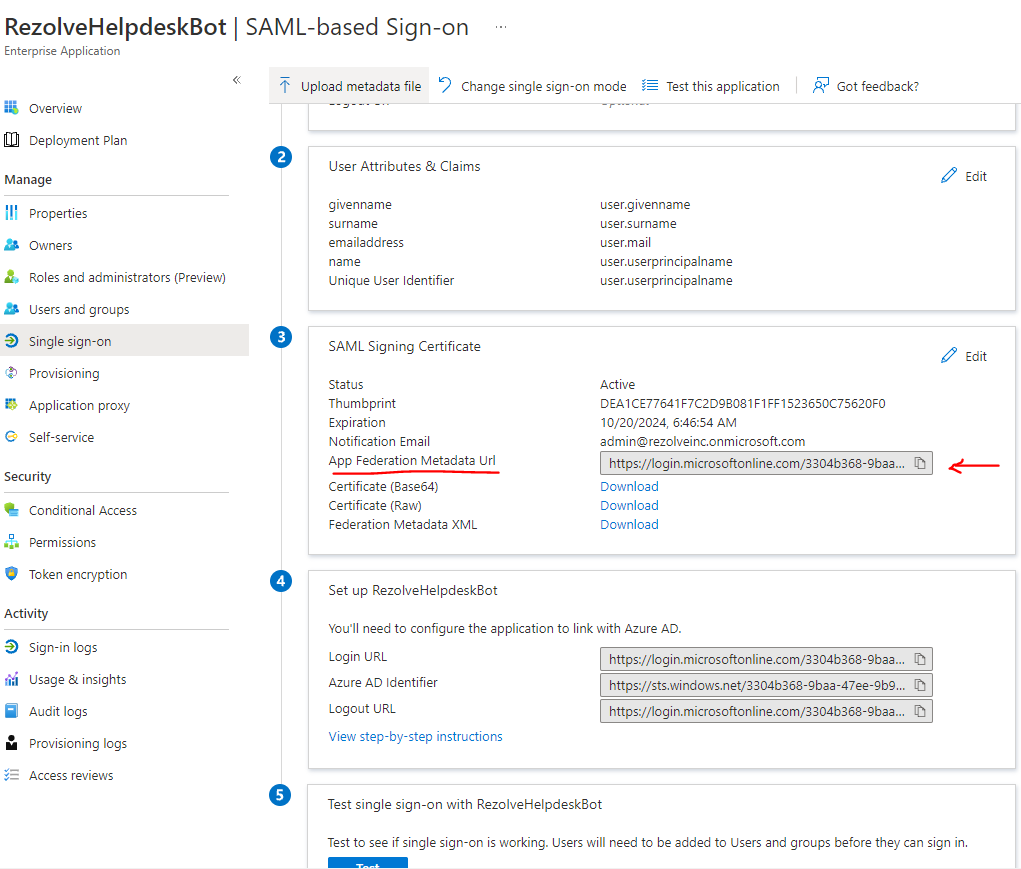
Look for App Federation metadata URL and copy that info and place it in an email
-
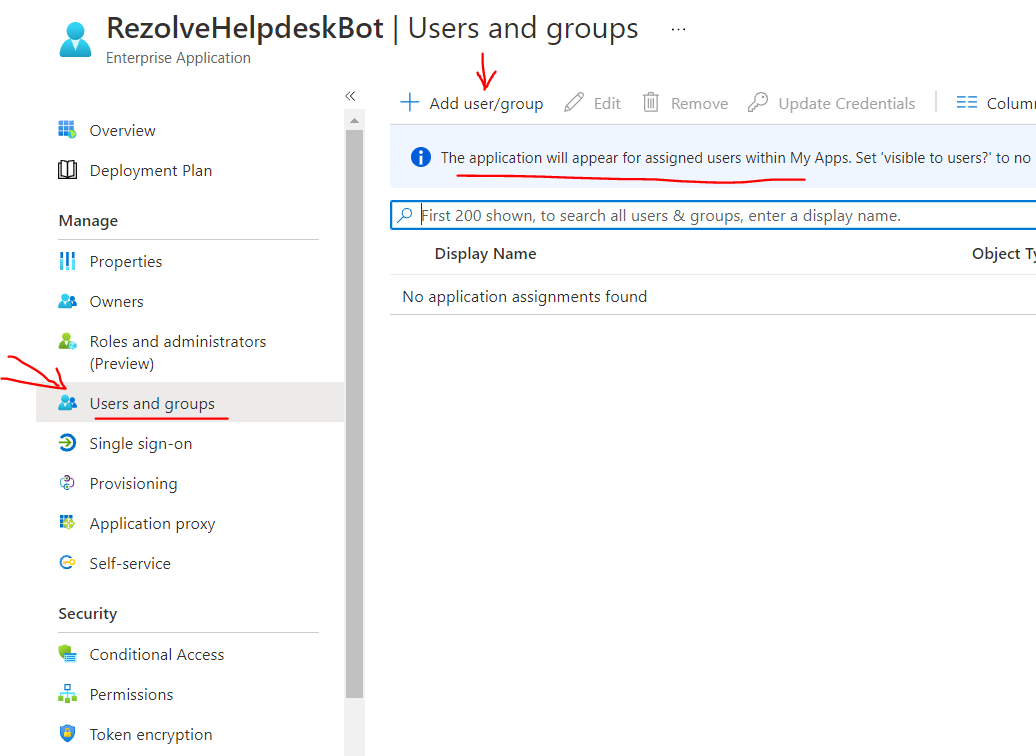
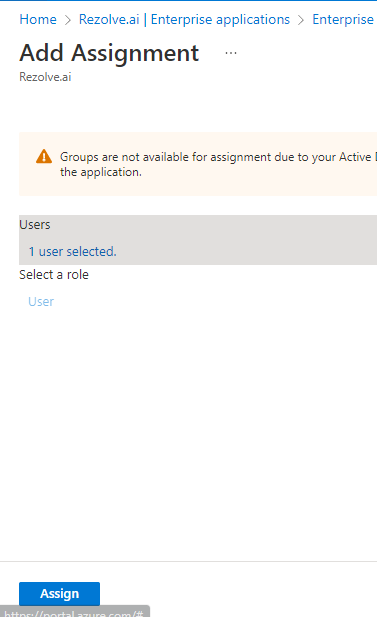
Under Manage on the left, select Users and groups , select + Add user/group and add who you would like to have access
-
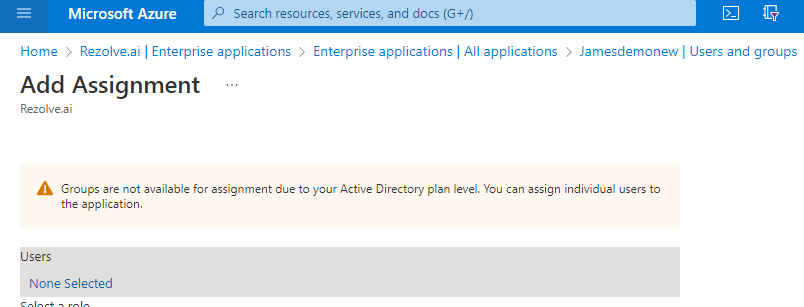
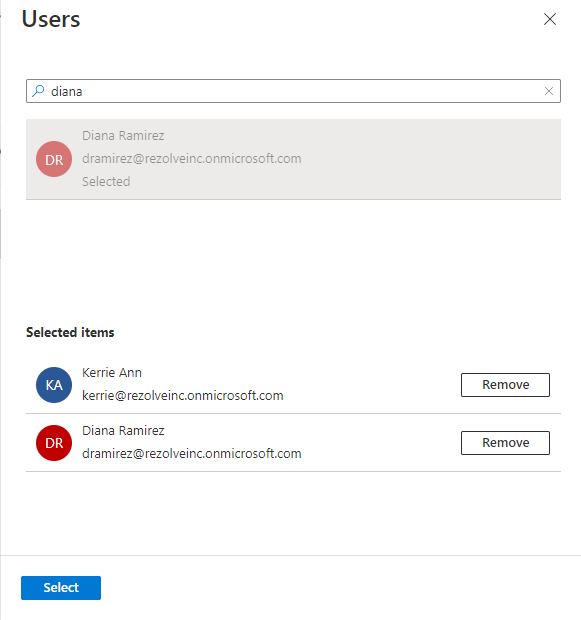
Under Users, click on None Selected
-
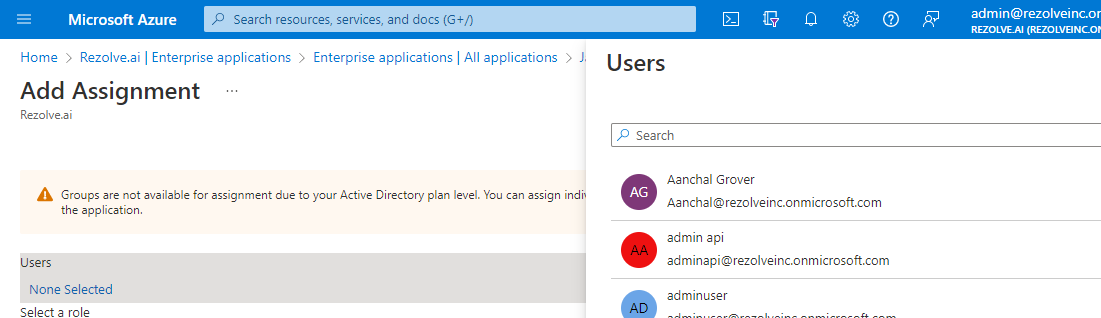
Search for the Users or Group you would like to add (You have to click on them once in search results and continue until done.)
-
Click Select
-
Click Assign NOTE: If you plan to use the Web widget, you can limit who has access during implementation, but you will have to add everyone in your organization for Go Live.